

Table of Contents
How to Make a Cute Hello Kitty Cake: A Step-by-Step Guide
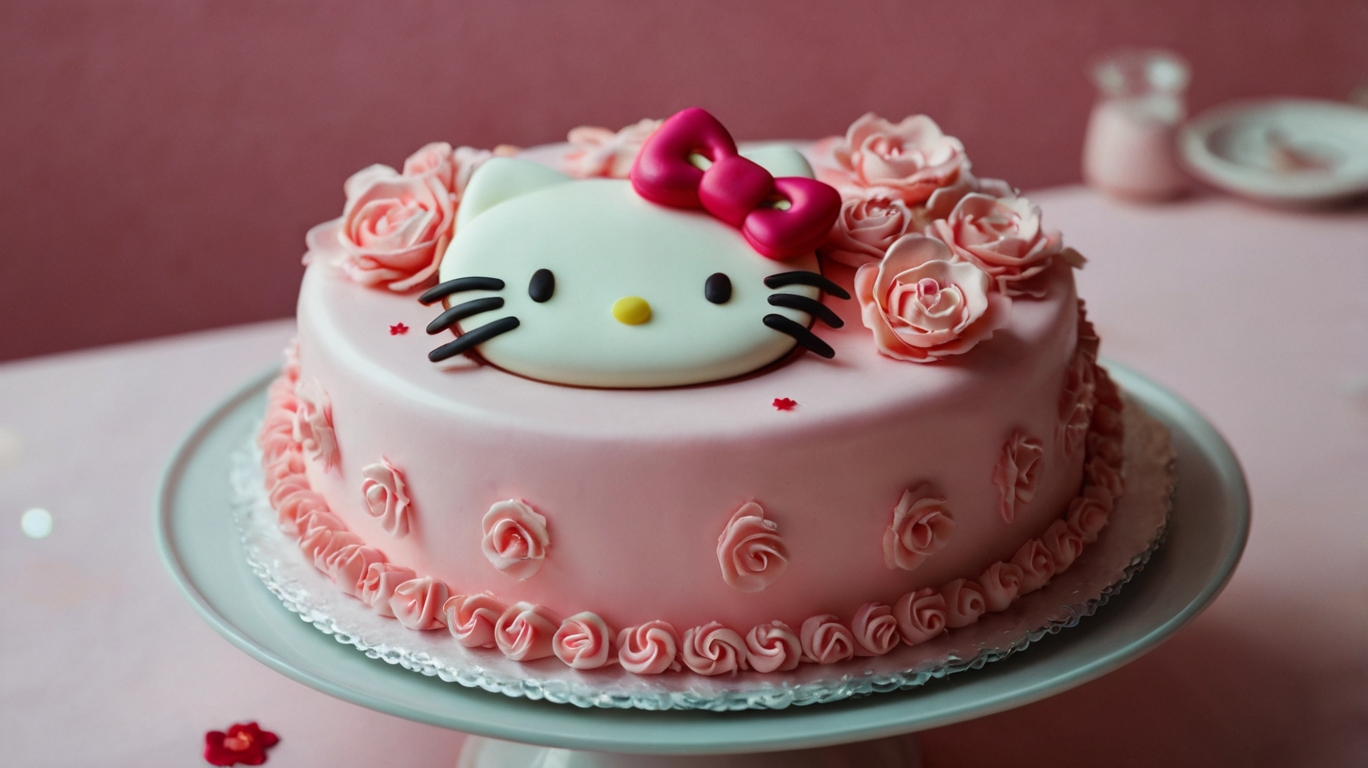
A Hello Kitty cake is a charming addition to any birthday party or special event. With its iconic design and adorable features, it’s sure to bring smiles to everyone at the table. This guide will take you through each step to make your own Hello Kitty cake, whether you’re a baking pro or a beginner.
Why a Hello Kitty Cake is a Must-Have for Any Party
Hello Kitty’s Universal Appeal
Hello Kitty is loved worldwide, making her an ideal cake theme for all ages. Whether you’re planning a child’s birthday or celebrating a Hello Kitty fan, this cake is a fun way to celebrate.
A Fun Theme for Kids and Adults
The playful, simple design of Hello Kitty’s face makes it a popular cake choice for both kids and adults. The minimalistic yet iconic look is instantly recognizable and brings a sense of nostalgia for many.
Hello Kitty Cake
Equipment
- candy making mold
Ingredients
For the Cake:
- 3 cups all-purpose flour
- 2 tsp baking powder
- 1 tsp baking soda
- 1 tsp salt
- 1 ½ cups unsalted butter room temperature
- 3 cups granulated sugar
- 5 eggs
- 2 tbsp vanilla extract
- 2 cups whole milk
- ½ cup sour cream optional for extra moisture
For the Buttercream Frosting:
- 2 cups unsalted butter room temperature
- 8 cups powdered sugar
- 2 tsp vanilla extract
- 6-8 tbsp heavy cream or milk
- Pink black, and yellow food coloring
For Decoration:
- 1 small piece of fondant for the signature Hello Kitty bow
- Edible black pearls for the eyes and whiskers
- Edible pink heart for the nose optional
- Sprinkles optional
Instructions
Step 1: Preheat the Oven & Prepare the Cake Pans
- Preheat your oven to 350°F (175°C).
- Grease and flour two 9-inch round cake pans. Line the bottom with parchment paper for easy release.
Step 2: Mix the Dry Ingredients
- In a large bowl, sift together the flour, baking powder, baking soda, and salt. Set aside.

Step 3: Cream the Butter & Sugar
- In another large bowl, cream the butter and sugar with a hand or stand mixer until light and fluffy, about 3-4 minutes.

Step 4: Add the Eggs & Vanilla
- Add the eggs one at a time, mixing well after each addition. Stir in the vanilla extract.
Step 5: Alternate Dry Ingredients & Milk
- Gradually add the dry ingredients to the butter mixture, alternating with the milk and sour cream. Mix until the batter is smooth and well combined, being careful not to overmix.
Step 6: Bake the Cake
- Divide the batter evenly between the two prepared pans.
- Bake for 25-30 minutes or until a toothpick inserted into the center comes out clean.
- Let the cakes cool in the pans for 10 minutes, then transfer them to a wire rack to cool completely.
Step 7: Prepare the Buttercream Frosting
- In a large bowl, beat the butter on medium speed until creamy, about 2 minutes.
- Gradually add the powdered sugar, 1 cup at a time, beating on low speed until combined.
- Add the vanilla extract and 4-6 tablespoons of cream, beating on high for 3-5 minutes until fluffy. Adjust the consistency with more cream if needed.
- Separate the frosting into three bowls: the largest portion for white frosting (Hello Kitty’s face), a small amount for pink (her bow), and a tiny bit for yellow (her nose).
Step 8: Assemble the Cake
- Level the tops of the cakes with a serrated knife to ensure an even surface.
- Spread a layer of white buttercream on top of one of the cakes, then place the second cake on top to create a two-layer cake.
- Apply a thin crumb coat of white frosting over the entire cake. Refrigerate for 30 minutes to set.
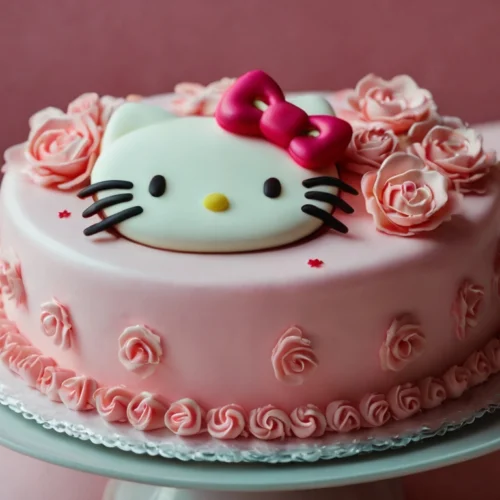
Step 9: Shape Hello Kitty’s Face
- After the crumb coat is set, apply a thicker layer of white frosting over the entire cake.
- Use black edible pearls for the eyes and create six whiskers using thin pieces of licorice or black fondant. Form the nose with a small bit of yellow frosting, and place an edible pink heart or a dab of pink frosting below the eyes for her nose.
Step 10: Create the Hello Kitty Bow
- Roll out the pink fondant to create Hello Kitty’s signature bow. Alternatively, pipe the bow with pink buttercream using a star or round piping tip.
- Place the bow on the top left corner of the cake to complete Hello Kitty’s look.
Notes
Pro Tips for the Perfect Hello Kitty Cake:
Smooth Frosting: For a flawless finish, dip your spatula in warm water before spreading the final coat of frosting. Bow Option: If you don’t have fondant, you can shape the bow out of pink icing using a piping bag. Customization: Feel free to add sprinkles, edible glitter, or even an additional layer of cake to make it extra special.Decorating Your Cake
Frosting the Cake
- Smoothly frost the entire cake using white buttercream. If using fondant, drape the rolled-out white fondant over the cake, smoothing it down with your hands or a fondant smoother.
- Trim any excess fondant from the base of the cake.
Adding Hello Kitty’s Face
- Cut out two black ovals for the eyes and one yellow oval for the nose using either fondant or colored icing.
- Place them on the cake to resemble Hello Kitty’s face. Add whiskers using thin black fondant strips or piping with black icing.
- For Hello Kitty’s bow, roll out pink fondant and shape it into a bow. Attach it to the top of Hello Kitty’s head using a small dab of water or buttercream.
Fun Variations of a Cake
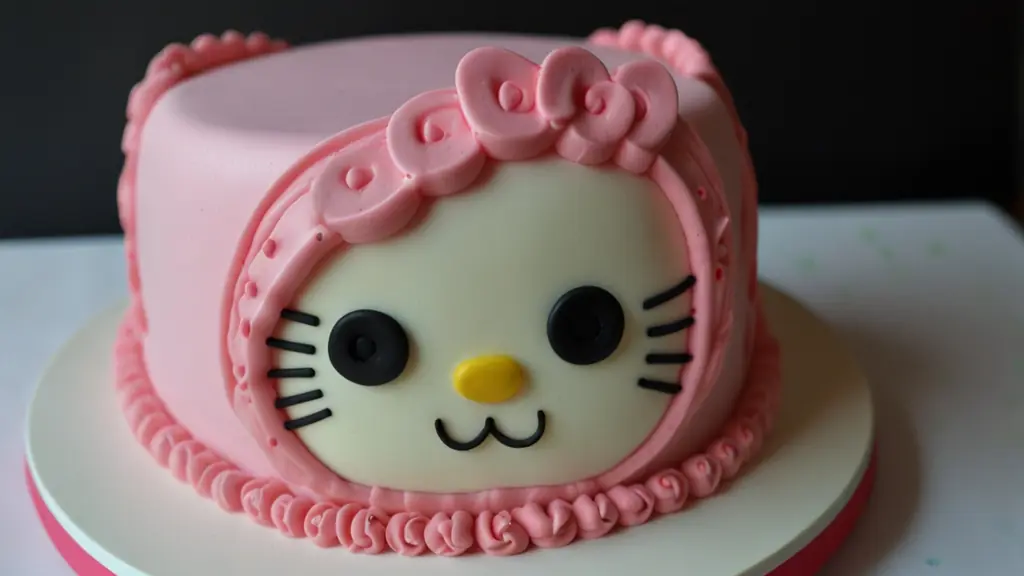
3D Hello Kitty Cake
If you’re feeling adventurous, try making a 3D version of the cake! Use a ball-shaped cake pan to create a rounded head, then build out the facial features with fondant.
Rainbow Hello Kitty Cake
Add a surprise inside by baking rainbow-colored cake layers. This will make for a fun and colorful slice that’s just as exciting as the outside!
Helpful Tips for a Smooth Cake-Making Process
Working with Fondant for Detail
If you’re using fondant, keep your hands dusted with cornstarch to prevent sticking. You can also use edible markers for finer details like the whiskers.
How to Achieve Smooth Frosting
For smooth buttercream frosting, always crumb coat the cake first. This thin layer of frosting catches any loose crumbs and provides a clean surface for the final layer.
Storing and Serving Your Hello Kitty Cake
Keeping the Cake Fresh
To keep your Hello Kitty cake fresh, store it in an airtight container. If you’ve used fondant, keep the cake at room temperature. For buttercream frosting, refrigerate the cake but let it come to room temperature before serving.
Serving Tips for Best Results
When serving the cake, use a sharp knife to get clean slices. Be sure to show off the beautifully decorated face before cutting, as it’s the highlight of the cake!
Conclusion
Creating a Hello Kitty cake is not only a fun project but also a fantastic way to add joy and charm to your party. With its simple design and endless customization options, this cake is perfect for fans of all ages. Whether you go for a traditional flat design or a more elaborate 3D version, the result will surely be a hit!
FAQs
- Can I make a Hello Kitty cake without fondant? Yes! You can use buttercream frosting for a more homemade look. Simply pipe the details of Hello Kitty’s face instead of using fondant.
- How long can I store a Hello Kitty cake? If covered well, a Hello Kitty cake can last for 2-3 days at room temperature or up to a week in the fridge.
- Can I use store-bought fondant? Absolutely! Store-bought fondant is convenient and easy to use. Just make sure to knead it well before rolling it out.
- Do I need any special tools to make a Hello Kitty cake? You don’t need any fancy tools! A sharp knife, rolling pin, and piping bags will be enough to get the job done.
- What if I’m not good at decorating cakes? Don’t worry! The beauty of a Hello Kitty cake is its simplicity. Even if your details aren’t perfect, it will still look adorable!


")