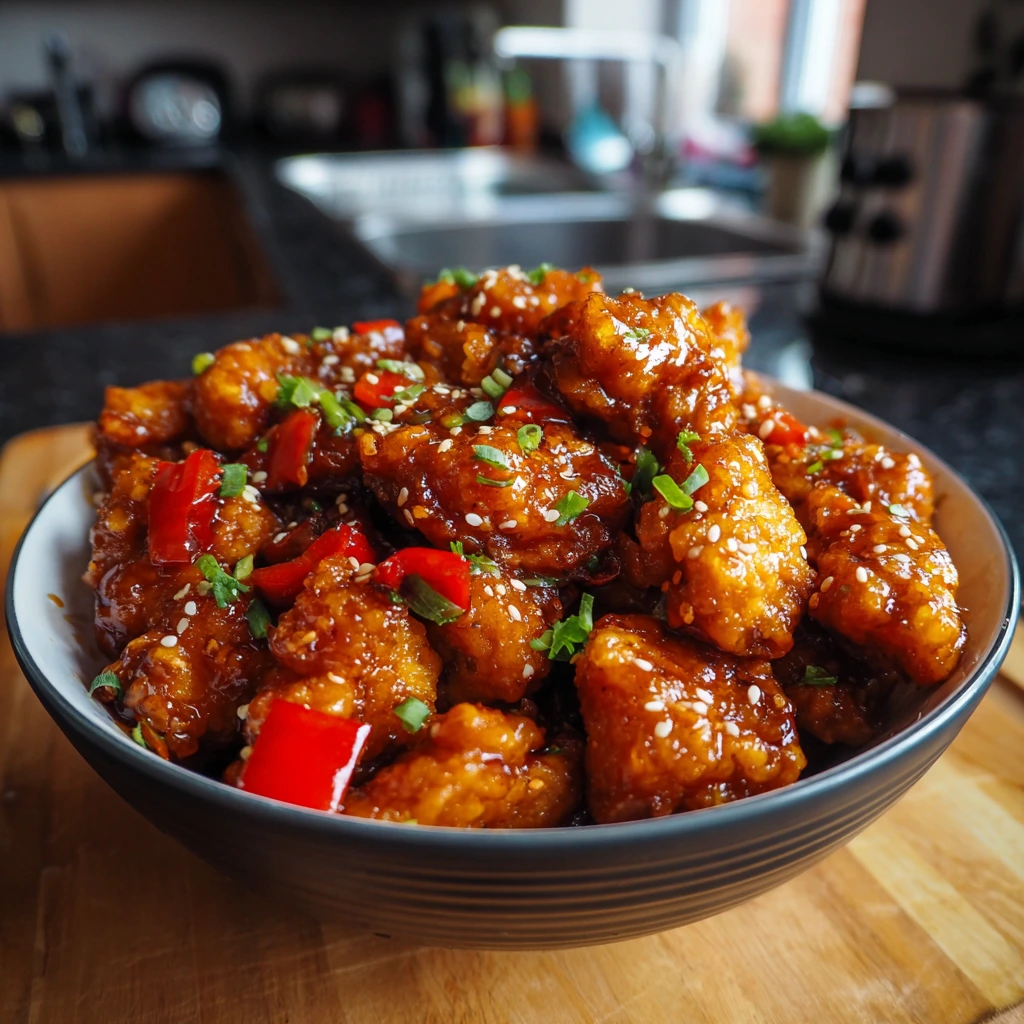
Sweet and Sour Chicken always hits the spot, right? But I swear, every time I order takeout, my wallet sobs and my kitchen gets jealous. The thing is, getting that perfect, crispy chicken with the glossy tangy sauce at home seems impossible. Like, unless you’ve got a five-star kitchen squad hiding in the pantry.
No joke, it’s way easier than you think. I’ll walk you through how I make mine—and yeah, it’s way better than the restaurant version. If you’re ever in the mood for something cheesy and hand-held, check out these air fryer hot chicken and cheese wraps. Or, if you need a cozy weeknight thing, you gotta try this easy buffalo chicken sweet potato casserole. Okay, but today we’re all ‘bout that saucy, sticky chicken magic.
Table of Contents
How to Make Baked Sweet and Sour Chicken
So first up, baked sweet and sour chicken. Yep, no deep frying here! And honestly, I’m all for saving my kitchen from oily smells (and, well, splattered walls). What’s wild is how crispy the bits of chicken turn out after just a quick toss in some flour and cornstarch. All you gotta do is cube up some chicken breast or thighs, roll ‘em in a flour mixture, dip ‘em in beaten eggs, and line it up on a greased baking sheet.
The real game-changer though? Don’t pack the chicken too close together. If you overlap, forget about crispiness. Give those chunks some alone time, and they’ll thank you with golden brown edges. Mix up your sauce while it bakes, which is mostly pantry stuff—ketchup, vinegar, brown sugar, and a pinch of soy. When the chicken’s crispy, you dunk it all in the sauce, give it another short bake, and boom—sticky, sweet, tangy glory everywhere.
One more tip? If you wanna save time, prep the sauce ahead. It’ll hang out in the fridge for a couple days like it’s no big deal.
A Key to Making Sweet and Sour Chicken
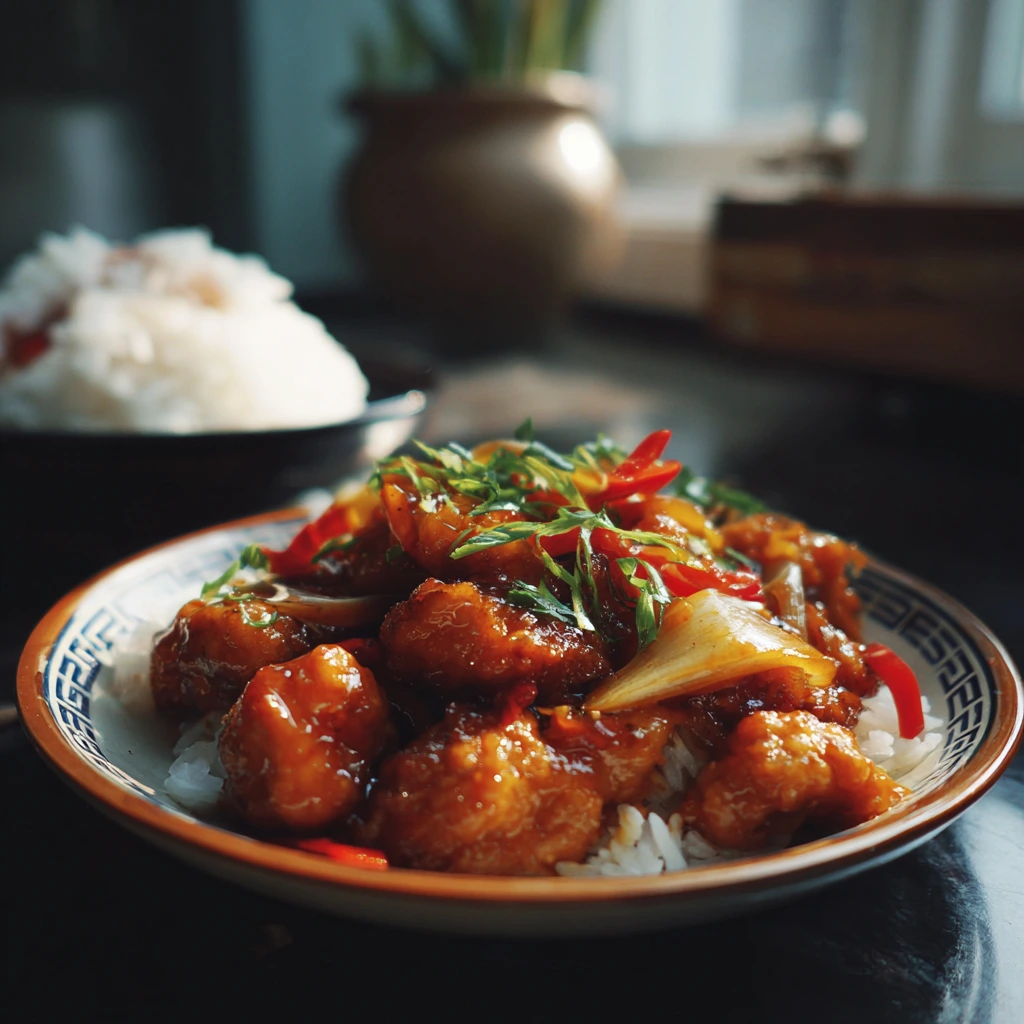
Here’s what nobody tells you about good sweet and sour chicken: the sauce matters way more than the chicken itself. Shocking, right? The chicken just needs to be tender and not dry. But the sauce—oh man. Play around till it’s exactly how you like. Some folks like it more sour, others want the sweetness to punch you in the teeth (me, sometimes both, depending on my mood).
Another real trick is cornstarch. Seriously. It keeps the chicken crispy so the sauce clings instead of pooling in the bottom of the pan like a sad little puddle. And final secret? Bake it once in the flour mix, and then again with the sauce, so you get sticky edges that make you wanna eat the whole tray by yourself (not judging, promise).
Don’t rush the process. Let it bake. Go scroll TikTok. Call your mom. Let the magic happen.
Ingredient Notes and Substitutions
Let’s talk about what you actually need. The classic way is using boneless chicken breast, but thighs work if you like ‘em juicier (I do, but hey, personal taste). For the breading, I use regular all-purpose flour and cornstarch. Don’t skip the cornstarch, unless you want to miss out on crispiness (bad idea).
For the sauce, ketchup is a must (I know it sounds weird, trust the process). Brown sugar gives that lovely caramel flavor. White vinegar is standard, or try apple cider vinegar for a softer tang. Soy sauce adds depth, but coconut aminos are fine if that’s your thing. And if you’re outta pineapple chunks, just use juice—easy peasy.
Oh, and toss in some bell peppers or onions if you’ve got them rattling around in the fridge. Maybe one of these nights pair it with easy pineapple chicken and rice for extra tropical vibes.
If you’re gluten-free, there are swaps. Rice flour and tamari both work, but the texture might change a smidge. It’s not a deal-breaker.
The first time I tried this at home, even my picky eater boyfriend asked for *seconds*. It’s become a regular in our kitchen rotation. Absolutely recommend.
Preparation Tips and Storage
Let’s not overthink prep. You just want uniform-sized chicken chunks so everything cooks evenly—about one-inch pieces work great. When you dredge, use a fork unless you enjoy sticky fingers (maybe you do, I don’t judge). Beat your eggs well or you’ll get weird eggy streaks, trust me—it happened to me once, eek.
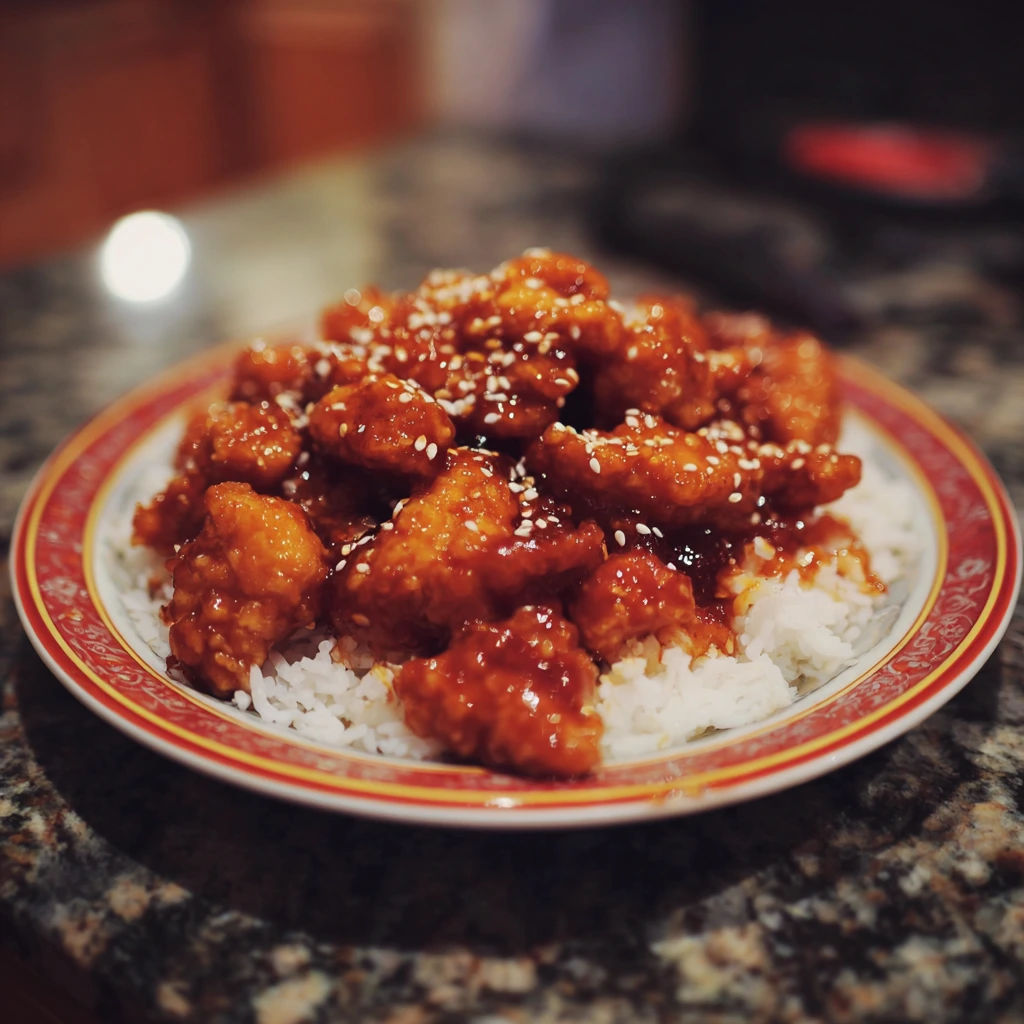
Mix the sauce while the chicken starts baking. Don’t pour cold sauce on hot chicken, let it get to room temp if you remembered to make it ahead. After adding sauce, stir a few times so every piece is covered nice and good.
Got leftovers? Pop ‘em in a sealed container. This stuff holds up in the fridge for three days, easy. To reheat, let the chicken and sauce warm slowly in the oven or microwave. It won’t be quite as crisp, but it totally still works for lunch. Oh! If you ever want more veggies with your meal, pair with sheet pan chicken and veggies for a super hearty dinner.
Serving Suggestions
Not even kidding, there’s a million ways to enjoy sweet and sour chicken. I mean, at least it feels like it. Here’s what works for us:
- Pile it up over fluffy white rice for classic comfort.
- Pass around some steamed broccoli, keeps things fresh and pops with color.
- Stuff leftovers in a tortilla for a weirdly awesome fusion wrap.
- Try it with a crisp, cold salad on the side if you’re feeling virtuous—balance, right?
FAQs
How can I make the sauce thicker?
If your sweet and sour sauce feels too runny, stir a teensy bit more cornstarch in (mixed with a splash of water first). Give it a bubble on the stove and it’ll thicken right up.
Can I use frozen chicken pieces?
Sure, just thaw them completely and pat dry. Waterlogged chicken means soggy breading, and nobody wants that.
Is this healthier than at a restaurant?
Oh, absolutely. You bake it, so there’s way less oil. Plus, you know exactly what’s in it.
Any way to make it spicy?
Go wild—add chili flakes or a spoonful of sriracha to the sauce. That sweet-heat combo is addicting.
Can I freeze leftovers?
Yeah, but the texture’s gonna shift a bit. It’s still good, just not crispy when thawed. Best for lazy weeknight meals.
Ready for Your Takeout Fakeout?
If you’ve ever drooled over takeout sweet and sour chicken and thought, “No way I can pull that off at home,” I hope this convinced you otherwise. Seriously, no more grease splatters, no weird mystery meat, just totally customizable and way tastier than a delivery box. You might even want to browse Mel’s Kitchen Cafe’s Sweet and Sour Chicken baked version for more inspo, or deep-dive authentic tricks from a pro chef in this Dad’s Sweet and Sour Chicken video.
Give it a go, mess it up, try it again—your kitchen, your rules. And if you find a new little twist, send it my way because I am always up for taste-testing. Happy cooking!
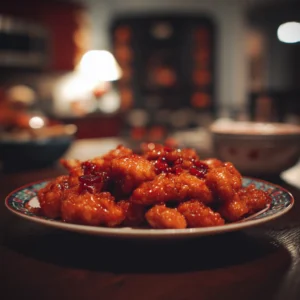
Baked Sweet and Sour Chicken
Equipment
- Large skillet or wok
- Mixing Bowls
- Saucepan (for sauce)
- Cutting board and knife
- Tongs or spatula
- Measuring Cups and Spoons
- Paper towels and plate (for draining)
- Optional: Deep fryer or air fryer
Ingredients
For the Chicken
- 1.5 pounds boneless chicken breasts or thighs Thighs are juicier if preferred.
- 0.5 cup all-purpose flour
- 0.25 cup cornstarch Essential for crispiness.
- 2 large eggs Beaten.
For the Sauce
- 0.5 cup ketchup A must for the sauce.
- 0.25 cup brown sugar For caramel flavor.
- 0.25 cup white vinegar Substitute with apple cider vinegar if desired.
- 2 tablespoons soy sauce Coconut aminos can be used as a substitute.
Optional Add-Ins
- 1 cup bell peppers Diced, if available.
- 1 cup onions Diced, if available.
Instructions
Preparation
- Preheat the oven to 400°F (200°C).
- Cube the chicken into 1-inch pieces.
- In one bowl, mix the flour and cornstarch, and in another bowl, beat the eggs.
- Dip the chicken pieces in the flour mixture, then in the beaten eggs, and then back into the flour mixture.
- Arrange chicken on a greased baking sheet, ensuring not to overcrowd the pieces.
- Bake for about 25 minutes or until chicken is golden and crispy.
Sauce Preparation
- While the chicken is baking, combine ketchup, brown sugar, white vinegar, and soy sauce in a bowl.
- Mix well until the sugar is dissolved.
Final Baking
- Once the chicken is crispy, remove it from the oven and toss with the prepared sauce.
- Return to the oven and bake for an additional 5-10 minutes.


