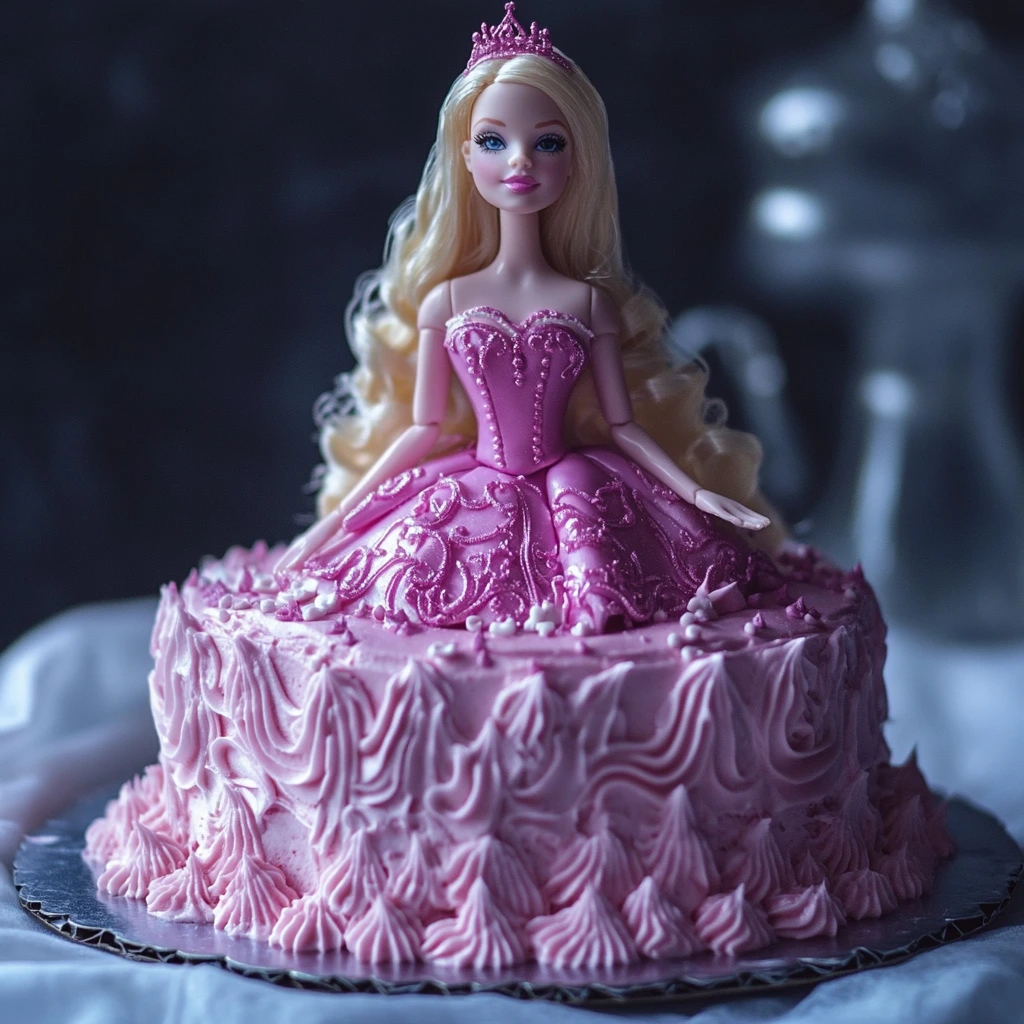
A Barbie cake is a delightful centerpiece for any birthday party or celebration! With its stunning design and playful theme, this cake is sure to wow your guests and bring joy to the birthday girl. Whether you’re a seasoned baker or trying this for the first time, this step-by-step guide will walk you through the process of creating a beautiful Barbie cake.
Table of Contents
Why a Barbie Cake is Perfect for Celebrations
A Magical, Memorable Cake for Kids
There’s something special about a Barbie cake that makes it unforgettable for kids. The idea of having their favorite doll as part of a cake is pure magic! It’s not just a dessert—it’s a showpiece that adds excitement to the party.
Customizable for Any Occasion
Barbie cakes can be tailored for any theme or occasion. From princesses to fairies, you can decorate the dress to match the party’s theme, making it a personalized masterpiece.
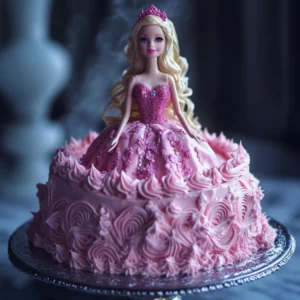
Barbie cake Recipe
Ingredients
- 4 cups all-purpose flour
- 2 tsp baking powder
- 1 tsp baking soda
- 1 tsp salt
- 1 ½ cups unsalted butter
- 3 cups granulated sugar
- 6 eggs
- 2 tbsp vanilla extract
- 2 cups whole milk
- ½ cup sour cream optional for extra moisture
- Pink food coloring optional for a fun, vibrant cake
- 2 cups unsalted butter
- 8 cups powdered sugar
- 2 tbsp vanilla extract
- 6-8 tbsp heavy cream or milk
- Pink and other pastel food coloring for Barbie’s dress
- Edible glitter and pearls for decoration optional
- 1 Barbie doll wrapped in plastic wrap or cling film up to her waist
Instructions
Step 1: Preheat the Oven & Prep Your Cake Pans
- Preheat your oven to 350°F (175°C).
- Grease and flour your dome-shaped cake mold or your round cake pans. If using round pans, make sure they range from 8-inch to 6-inch for a tiered dome effect.
Step 2: Mix the Dry Ingredients
- In a large bowl, sift together the flour, baking powder, baking soda, and salt. Set aside.
Step 3: Cream the Butter & Sugar
- In another large bowl, cream the butter and sugar with a hand or stand mixer until light and fluffy, about 3-4 minutes.
Step 4: Add the Eggs & Vanilla
- Add the eggs one at a time, mixing well after each addition. Stir in the vanilla extract.
Step 5: Alternate Dry Ingredients & Milk
- Gradually add the dry ingredients to the butter mixture, alternating with the milk and sour cream, until the batter is smooth. If desired, add a few drops of pink food coloring to create a Barbie-themed pink cake.
Step 6: Bake the Cake
- If using a dome-shaped mold, pour the batter into the prepared pan and bake for 50-60 minutes, or until a toothpick comes out clean.
- If using round pans, divide the batter evenly among them, baking for 25-30 minutes each.
- Allow the cakes to cool in the pans for 10 minutes before turning them onto wire racks to cool completely.
Step 7: Prepare the Frosting
- In a large bowl, beat the butter on medium speed for 2 minutes until creamy.
- Gradually add the powdered sugar, 1 cup at a time, beating on low speed until combined.
- Add the vanilla extract and 4-6 tablespoons of cream, beating on high for 3-5 minutes until fluffy. Adjust the consistency with more cream if needed.
- Divide the frosting into bowls and color them with different shades of pink and pastel colors for decorating Barbie’s dress.
Step 8: Assemble the Cake
- Once the cakes are completely cool, use a serrated knife to level the tops of the cakes, if necessary.
- If using round pans, stack the layers from largest to smallest, applying a thin layer of frosting between each layer.
- Carve the stacked cakes to form a dome shape, making sure it resembles the shape of a ball gown.
Step 9: Insert the Barbie
- Cover the entire cake with a crumb coat (a thin layer of frosting), then chill the cake in the fridge for 30 minutes.
Step 10: Decorate the Dress
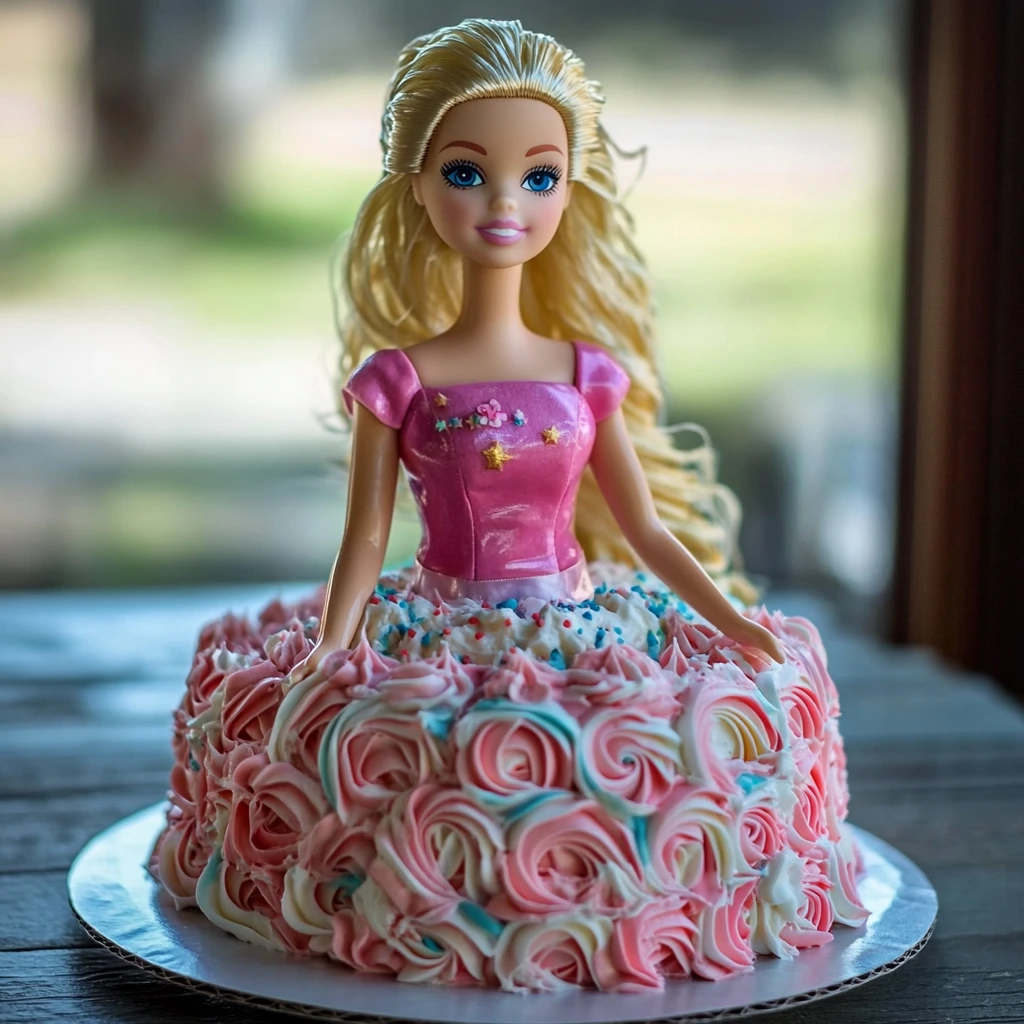
- Once the crumb coat is set, apply a second, thicker layer of frosting in smooth strokes to create the dress. Use piping bags with various tips to add ruffles, swirls, and other decorative elements to Barbie’s gown.
- Add edible glitter, pearls, or fondant flowers for an extra glamorous touch.
Notes
Alternative Barbie Cake Ideas
Princess Barbie Theme
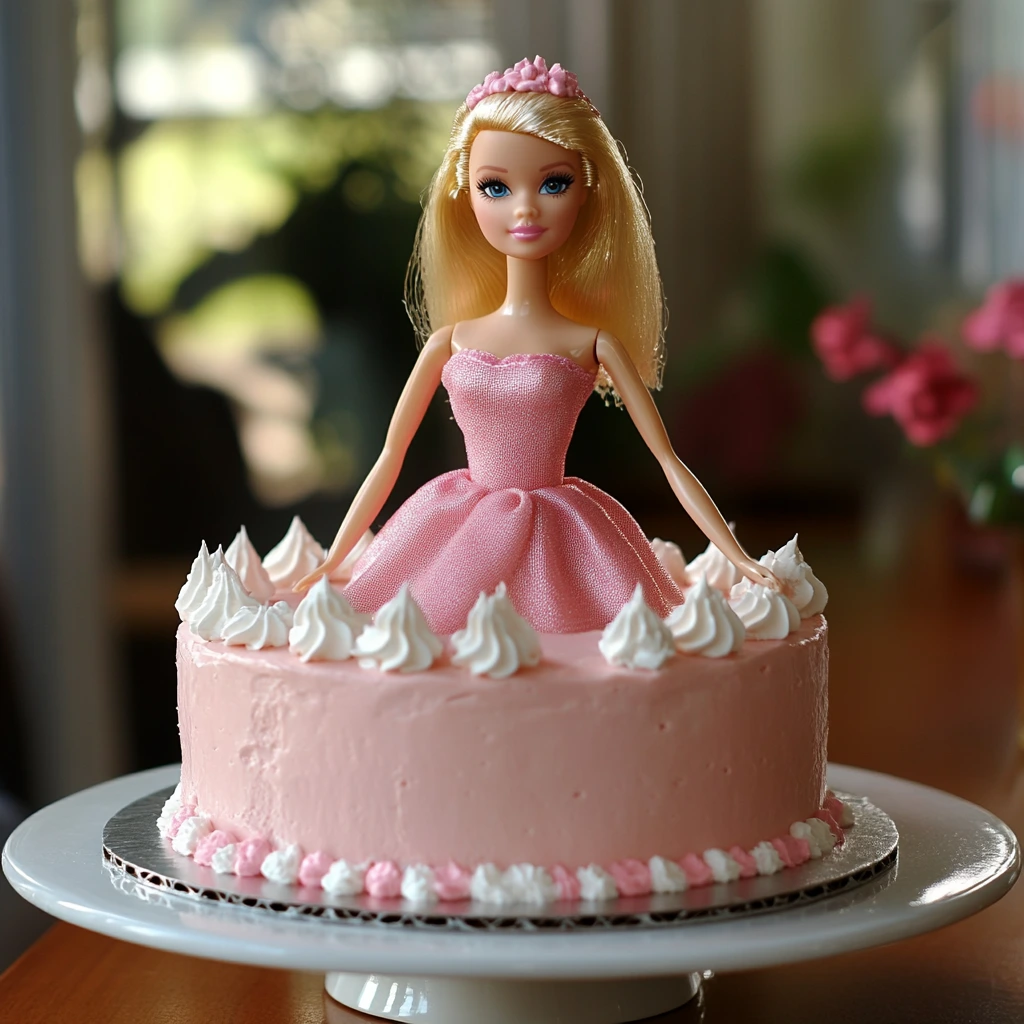
Turn your cake into a royal creation by decorating the dress with gold accents, lace designs, and a tiara on Barbie’s head. This theme is perfect for princess parties!
Fairy Barbie Theme
For a whimsical twist, add edible butterflies, pastel colors, and sugar wings to create a fairy-inspired Barbie cake that’s straight out of a magical forest.
Tips for Making a Flawless Barbie Cake
Handling the Cake Structure
Make sure your cake layers are fully cooled before stacking to prevent any slipping. If you’re making a taller cake, use cake dowels or straws inserted into the layers for extra stability.
Avoiding Common Mistakes
- Don’t overfill the cake pans: Overfilling can lead to uneven baking and make it difficult to carve the dress shape.
- Use a chilled cake: A chilled cake is easier to carve and frost, giving you smoother results.
How to Store and Serve a Barbie Cake
Keeping the Cake Fresh
If you’re making the cake ahead of time, store it in the fridge to keep it fresh. You can store the cake for up to 2 days before the party, but make sure to let it come to room temperature before serving.
Best Practices for Serving
When it’s time to serve the cake, simply remove the Barbie doll from the center. Then, slice the cake from the bottom up, cutting through the layers for a beautiful cross-section of the “dress.”
Conclusion
A Barbie cake is not just a dessert; it’s a centerpiece that brings joy and excitement to any celebration. Whether you’re creating a princess-themed cake or a whimsical fairy Barbie, this step-by-step guide ensures that you can craft a show-stopping cake that will be the highlight of the party. With a little creativity and patience, you’ll have a cake that not only looks fabulous but tastes amazing too!
FAQs
- Can I use a different doll instead of Barbie?
Yes! You can use any doll of similar size. Just be sure to wrap the doll’s legs in plastic wrap before inserting it into the cake. - Can I use store-bought cake mix?
Absolutely! If you’re short on time, a store-bought cake mix can be a great alternative. Just bake according to the package instructions and follow the rest of the steps for assembly and decorating. - How do I transport a Barbie cake?
Chill the cake in the fridge for about an hour before transport. Use a sturdy cake box to keep the cake stable during transport, and handle with care. - Can I make the cake layers ahead of time?
Yes, you can bake the cake layers up to two days in advance. Just wrap them tightly in plastic wrap and store at room temperature until you’re ready to assemble. - What’s the best way to color the frosting?
Use gel food coloring instead of liquid, as it gives a more vibrant color without thinning out the frosting.


