Imagine a warm, sunny afternoon, and you’re sitting outside with a bowl of rich, creamy chocolate ice cream made right at home. The velvety texture, the deep cocoa flavor, and the indulgence that comes with each bite make for an experience that’s hard to beat. Whether you’re craving a simple treat after dinner or looking for something to serve at a family gathering, making homemade chocolate ice cream brings the joy of dessert to life in a way that store-bought versions just can’t match.
Table of Contents
This recipe is all about creating the perfect chocolate ice cream—one that’s smooth, flavorful, and incredibly satisfying. No more bland, icy scoops; this one will melt in your mouth. In this article, we’ll guide you through the process step-by-step, and by the end, you’ll be ready to whip up a batch that you’ll want to make again and again.
Why Make Homemade Chocolate Ice Cream?
If you’ve never tried making chocolate ice cream from scratch, you’re in for a treat. Here are a few reasons why making your own homemade chocolate ice cream is worth the effort:
1. You Control the Ingredients
Making homemade ice cream gives you full control over what goes into it. You can choose high-quality ingredients, ensuring there are no artificial preservatives or strange chemicals. When you make it at home, you know exactly what you’re eating.
2. Endless Customization
Want to add chocolate chips, swirl in some peanut butter, or toss in crushed almonds? The options are endless. You can tweak the recipe to fit your personal preferences, making every batch uniquely yours.
3. Freshness
There’s something incredibly satisfying about making ice cream from scratch. The freshness of ingredients combined with the fact that you’re enjoying it the moment it’s done is a delight in itself. Homemade chocolate ice cream is unbeatable when it comes to flavor and creaminess.
4. Fun for the Whole Family
Making homemade ice cream can be a fun family activity. It’s a great way to bond with your loved ones in the kitchen, and everyone can get involved in the process. Plus, watching the ice cream churn as it thickens is a thrilling experience for kids and adults alike.
What You Need to Make Creamy Homemade Chocolate Ice Cream
Before you begin, make sure you have all your ingredients and equipment ready to go. While the list may look long, it’s actually very simple. Here’s what you’ll need:
Ingredients:
- 2 cups heavy cream: Full-fat cream will give your ice cream that rich, creamy texture that you love.
- 1 cup whole milk: This adds to the smoothness and helps balance the fat content.
- ¾ cup granulated sugar: Sweeten the ice cream just enough to bring out the chocolate flavor.
- ⅓ cup unsweetened cocoa powder: This adds that deep chocolate flavor you’re craving.
- 4 oz dark chocolate: Chopped into small pieces to melt smoothly into the mixture.
- 4 egg yolks: These will help create a custard base, making the ice cream extra creamy.
- 1 tsp vanilla extract: For a little extra depth of flavor.
Tools:
- Ice cream maker (optional, but highly recommended): This will make the churning process much easier and ensure your ice cream is smooth and creamy.
- Mixing bowls: For combining your ingredients.
- Whisk or hand mixer: To help mix your custard and other ingredients.
- Measuring cups and spoons: Accuracy is key when making ice cream.
- Freezer-safe container: For storing your ice cream once it’s done.
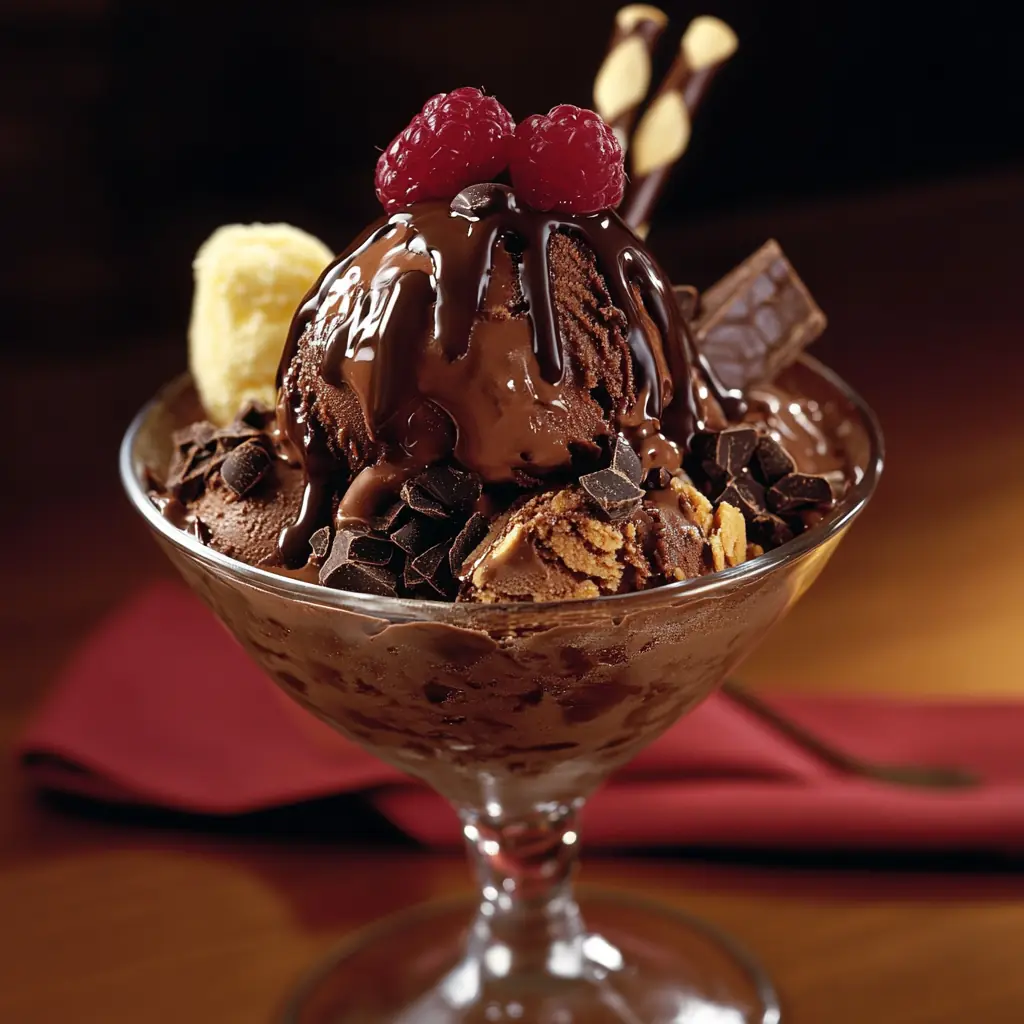
How to Make Homemade Chocolate Ice Cream: Step-by-Step Instructions
Now that you’ve gathered everything, it’s time to make your ice cream. Follow these steps, and you’ll have the creamiest, most delicious chocolate ice cream you’ve ever tasted.
Step 1: Prepare the Chocolate Base
In a medium saucepan, combine the milk, heavy cream, cocoa powder, and sugar. Place the mixture over medium heat and stir it often until it starts to simmer. You’ll want the sugar to dissolve completely and the cocoa powder to fully incorporate.
Next, add the chopped dark chocolate into the saucepan. Keep stirring constantly until the chocolate is completely melted and the mixture becomes smooth. Once everything is melted and combined, remove the saucepan from heat and set it aside to cool slightly.
Step 2: Make the Custard (Optional)
For an extra smooth, custard-like texture, you’ll want to make a simple custard base. In a separate bowl, whisk the egg yolks until they’re smooth. Gradually pour a small amount of the hot cream mixture into the yolks, whisking steadily as you go. This step is important because it helps temper the eggs, preventing them from scrambling when added to the hot cream.
Once the egg yolks are tempered, slowly add the egg mixture back into the saucepan with the rest of the cream mixture. Return the saucepan to low heat and cook, stirring constantly, until the custard thickens. You can test this by dipping a spoon into the mixture—the custard should coat the back of the spoon.
Step 3: Chill the Mixture
Once the custard has thickened, pour the mixture into a large bowl. Let it cool at room temperature for a bit, then cover and refrigerate it for at least 2 hours (or overnight for best results). Chilling the mixture will help it thicken and improve the texture of your ice cream.
Step 4: Churn the Ice Cream
Now comes the fun part—churning! Pour the chilled ice cream mixture into your ice cream maker. Follow the manufacturer’s instructions, but typically, you’ll churn it for about 20-30 minutes, or until it thickens to your desired consistency.
If you don’t have an ice cream maker, no worries! Simply transfer the chilled mixture into a freezer-safe container and place it in the freezer. Every 30 minutes, remove it from the freezer and stir it vigorously to break up any ice crystals. Repeat this process for about 3-4 hours, or until the ice cream is thick and smooth.
Step 5: Freeze and Serve
Once your ice cream has churned to perfection, transfer it to a freezer-safe container. Cover it tightly and freeze for at least 4 hours to fully set. When you’re ready to serve, simply scoop out the ice cream and enjoy!
Tips for Perfect Homemade Chocolate Ice Cream Every Time
To make sure your homemade chocolate ice cream turns out perfectly every time, here are some helpful tips:
- Use high-quality chocolate: The chocolate you use will make a big difference in flavor. Opt for dark chocolate with at least 70% cocoa for a rich, intense chocolate taste.
- Don’t skip the chilling step: It’s crucial to chill the mixture for at least a few hours. This ensures your ice cream has a smooth, creamy texture.
- Add mix-ins for variety: Once your ice cream is churned, feel free to fold in chocolate chips, crushed cookies, or nuts for extra flavor and texture.
- Use an ice cream maker for best results: While you can make ice cream without one, an ice cream maker ensures a smoother, creamier texture that’s hard to beat.
Creative Variations: Make It Your Own!
Feel free to get creative with your homemade chocolate ice cream. Here are a few fun variations to try:
- Chocolate Mint Ice Cream: Add a few drops of peppermint extract and crushed mint leaves to the base before churning for a refreshing twist on classic chocolate ice cream.
- Chocolate Coffee Ice Cream: Mix in brewed coffee or espresso for a mocha-flavored treat that’s perfect for coffee lovers.
- Chocolate Almond Ice Cream: Add chopped almonds or swirl in almond butter for a nutty flavor that pairs perfectly with chocolate.
- Chocolate Peanut Butter Swirl: Swirl in peanut butter after churning for a rich and indulgent treat.
- Vegan Chocolate Ice Cream: Use coconut milk or almond milk and skip the eggs for a dairy-free version of this creamy delight.
How to Store Homemade Chocolate Ice Cream
Once your ice cream is ready, you’ll need to store it properly to keep it fresh. Here’s how to do it:
- Use an airtight container: Transfer the ice cream to an airtight container to prevent freezer burn and keep it fresh.
- Keep it frozen: Store the ice cream in the freezer, where it will stay fresh for up to 2-3 weeks.
- Re-churn if needed: If your ice cream becomes too hard after freezing, let it sit at room temperature for a few minutes. Then, churn it again for a smoother consistency.
Frequently Asked Questions (FAQ)
How long does homemade chocolate ice cream take to make?
It takes about 30 minutes to prepare the mixture, 2-3 hours to chill, and 20-30 minutes to churn. Don’t forget the freezing time (at least 4 hours).
Is it possible to make homemade chocolate ice cream without an ice cream maker?
Yes! For a no-churn version, simply freeze the mixture and stir it every 30 minutes to break up ice crystals.
How can I make homemade chocolate ice cream vegan?
Substitute dairy milk with coconut or almond milk, and replace the eggs with a stabilizer like cornstarch or a coconut-based alternative.
What type of chocolate is best for homemade chocolate ice cream?
Choose dark chocolate with at least 70% cocoa for a deep, bold flavor. Milk chocolate is a sweeter option for those who prefer a milder taste.
How can I make my chocolate ice cream even creamier?
Adding egg yolks creates a custard base, which gives the ice cream a richer, smoother texture. Using heavy cream instead of milk also helps improve creaminess.
Conclusion: A Scoop of Happiness
Now that you’ve mastered the art of making homemade chocolate ice cream, it’s time to sit back, relax, and enjoy your creation. With a little patience and some simple ingredients, you can make a dessert that’s not only delicious but also memorable. Share it with your loved ones, try out different variations, and savor each creamy scoop. Happy making and indulging!
Excited to start making your own homemade ice cream? Try this recipe today, and let your taste buds indulge in a creamy, chocolatey dream.
Homemade Chocolate Ice Cream
Ingredients
- 2 cups heavy cream
- 1 cup whole milk
- 3/4 cup granulated sugar
- 1/2 cup unsweetened cocoa powder
- 1 teaspoon vanilla extract
- 1/2 cup chocolate chips optional for added texture
- Pinch of salt
Instructions
Prepare the Ice Cream Base:
- In a large mixing bowl, combine the cocoa powder and sugar. Add the milk and whisk until the cocoa powder and sugar are completely dissolved. This will create a smooth chocolate base for your ice cream.
Mix in the Cream:
- Add the heavy cream to the chocolate mixture, stirring to combine. Add a pinch of salt and vanilla extract, and continue stirring until the mixture is smooth and well-blended.
Chill the Mixture:
- Cover the bowl with plastic wrap or a lid and refrigerate the mixture for at least 2 hours, or until it’s cold. This step helps the ice cream base thicken and improves the texture.
Freeze the Ice Cream:
- Pour the chilled mixture into a shallow container. If you like, you can stir in chocolate chips at this point for added crunch.
- Place the container in the freezer and freeze for about 4 hours, stirring every 30 minutes to break up any ice crystals that may form. This will help achieve that creamy texture.
Serve:
- Once the ice cream is fully frozen, scoop it into bowls or cones and enjoy! If the ice cream is too hard to scoop, let it sit at room temperature for a few minutes to soften slightly.
Notes
Tips:
- For an even creamier texture, add more heavy cream or use a mixture of half-and-half and cream.
- You can customize this recipe by adding your favorite mix-ins like chopped nuts, caramel swirls, or marshmallows.


