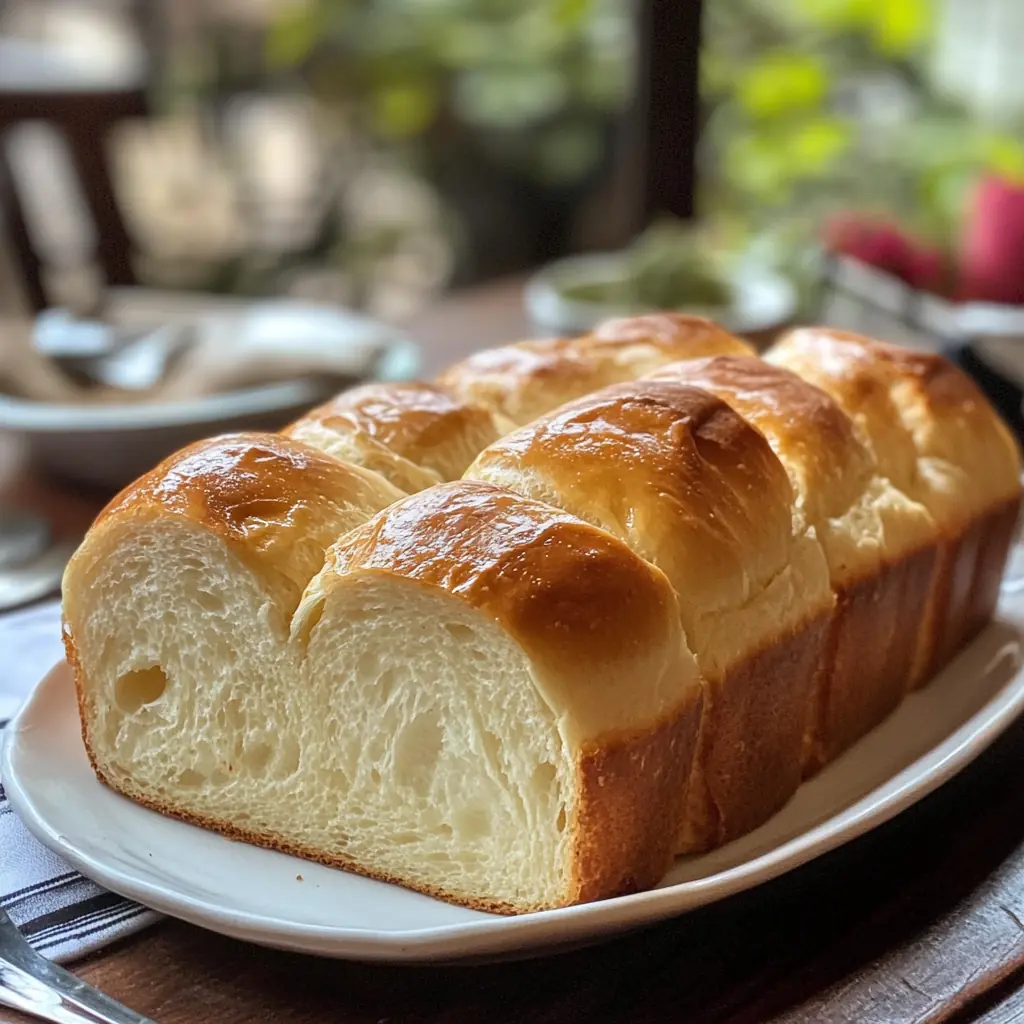
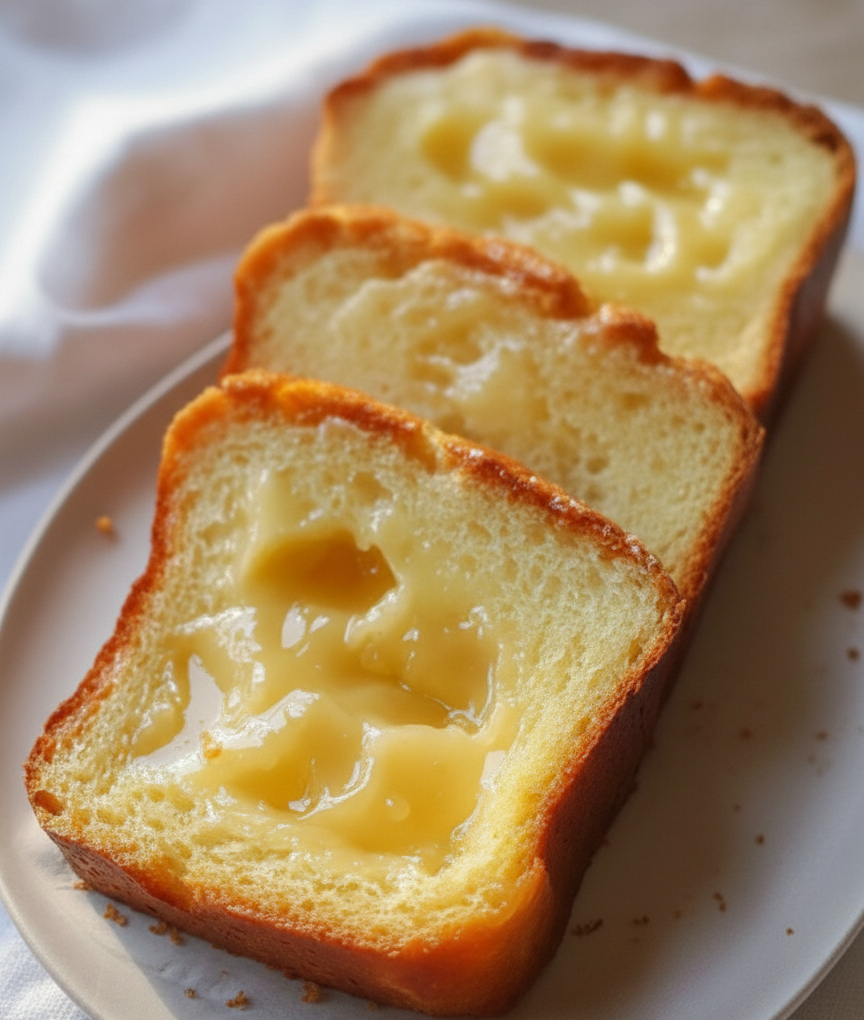
There’s something incredibly satisfying about baking your own bread, especially when it’s as soft, fluffy, and delicious as condensed milk bread. This sweet and milky bread is a staple in many Asian bakeries and has gained popularity worldwide for its pillowy texture and delightful flavor. Whether you’re a seasoned baker or a beginner, this bread is simple to make and will fill your home with the irresistible aroma of fresh-baked goodness.
In this guide, we’ll walk you through everything you need to know about making condensed milk bread, from the ingredients and tools to a detailed step-by-step baking process. Plus, we’ll share tips, variations, and storage methods to ensure your bread turns out perfect every time.
Table of Contents
What is Condensed Milk Bread?
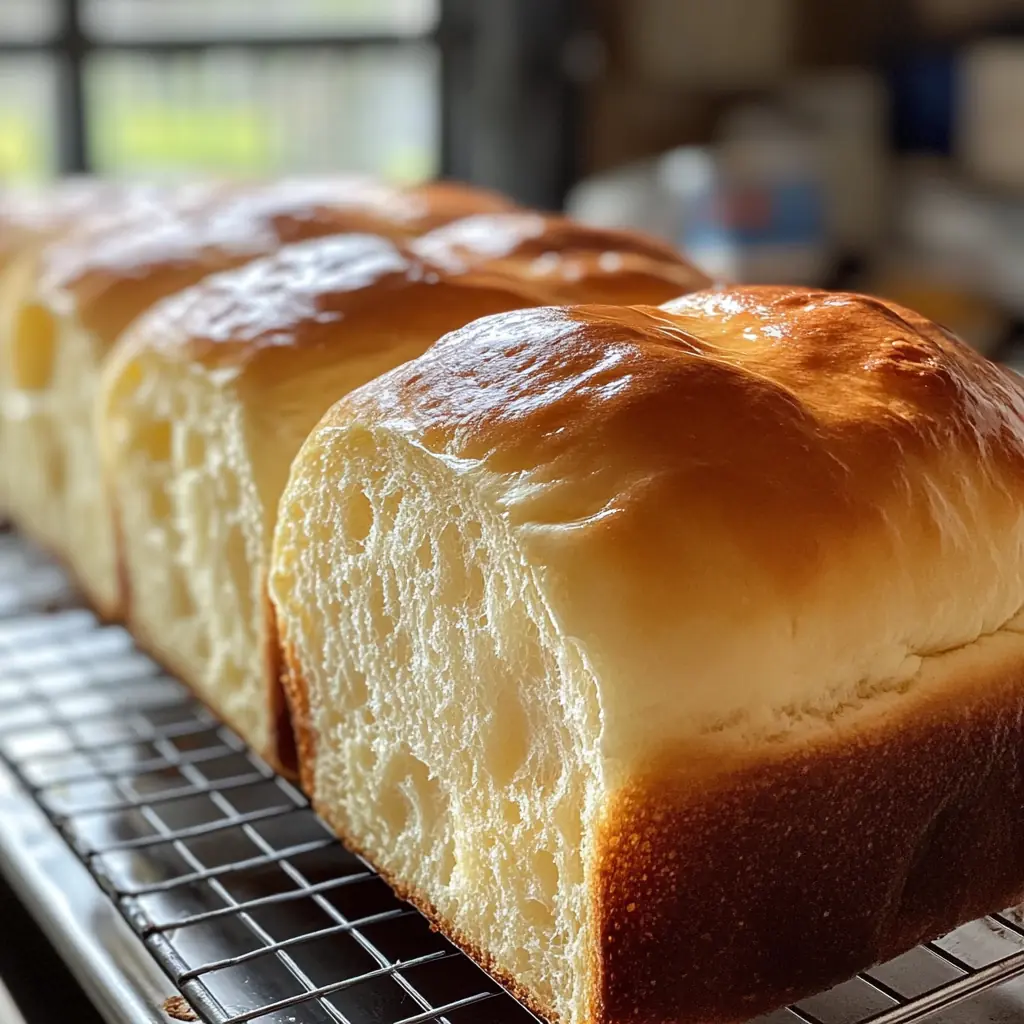
This bread is soft, slightly sweet, and enriched with a creamy ingredient that enhances its flavor and gives it a tender crumb. Popular in many bakeries across Asia and Europe, its light and airy texture makes it an excellent choice for sandwiches, toast, or simply enjoying with a bit of butter.
Compared to traditional white bread, it has a slightly denser yet softer feel, thanks to the added milk solids and sugar. The sweetness remains subtle, making it versatile enough to be enjoyed on its own or paired with a variety of spreads and toppings.
Ingredients for Condensed Milk Bread
To make the perfect loaf of condensed milk bread, you’ll need the following ingredients:
Basic Ingredients:
- All-purpose flour or bread flour – Provides structure to the bread
- Condensed milk – The key ingredient that adds sweetness and richness
- Milk – Enhances moisture and softness
- Butter – Gives a tender crumb and adds flavor
- Egg – Helps with texture and elasticity
- Yeast – Makes the dough rise and become airy
- Salt – Balances the sweetness
Optional Add-ins:
- Vanilla extract – Adds a subtle flavor enhancement
- Sugar – If you prefer a sweeter loaf
- Cinnamon or nutmeg – For a spiced variation
Tools and Equipment Needed
Before you begin, gather the following tools:
- Mixing bowls
- Measuring cups and spoons
- Dough scraper
- Stand mixer (optional)
- Rolling pin
- Loaf pan or baking sheet
- Plastic wrap or a damp towel for proofing
- Pastry brush for glazing
Step-by-Step Guide to Making Condensed Milk Bread
Step 1: Preparing the Dough
- In a large mixing bowl, combine warm milk, yeast, and a teaspoon of sugar. Allow it to rest for 5-10 minutes until it turns frothy.
- Add condensed milk, egg, melted butter, and flour. Mix until a shaggy dough forms.
- Knead the dough by hand or using a stand mixer until it becomes smooth and elastic (about 8-10 minutes).
Step 2: Kneading the Dough
- If kneading by hand, stretch and fold the dough repeatedly.
- The dough should pass the “windowpane test,” meaning it stretches without tearing.
Step 3: First Rise (Proofing)
- Place the dough in a greased bowl and cover it with plastic wrap.
- Let it rest in a warm, draft-free area for 1-2 hours, or until it has doubled in size.
Step 4: Shaping the Bread
- Gently deflate the dough and divide it into equal portions.
- Shape it into a loaf, rolls, or any desired form.
Step 5: Second Rise
- Cover the shaped dough and let it rest for 30-45 minutes to rise again.
Step 6: Baking the Bread
- Preheat the oven to 350°F (175°C).
- Brush the dough with milk or egg wash for a golden crust.
- Bake for 25-30 minutes, or until golden brown.
Step 7: Cooling and Serving
- Let the bread cool before slicing.
- Serve with butter, jam, or honey.
Tips for Perfect Condensed Milk Bread
- Use fresh yeast for the best rise.
- Don’t rush the proofing process.
- Keep leftovers in an airtight container to preserve freshness.
Variations of Condensed Milk Bread
- Chocolate Swirl Bread – Add cocoa powder and chocolate chips.
- Cinnamon Roll Loaf – Incorporate cinnamon and brown sugar.
- Cheese-Stuffed Bread – Mix in shredded cheese for a savory twist.
Storing and Preserving Condensed Milk Bread
- Store at room temperature for 2-3 days.
- Refrigerate for up to a week.
- Freeze for longer storage (up to 3 months).
Health Benefits of Condensed Milk Bread
- Contains protein from eggs and milk.
- Provides energy due to carbohydrates.
- Can be part of a balanced diet when consumed in moderation.
Frequently Asked Questions (FAQs)
1. Can I make condensed milk bread without yeast?
Yes, but you’ll need baking powder or baking soda as an alternative leavening agent.
2. How do I make it vegan?
Use plant-based condensed milk, non-dairy butter, and an egg substitute.
3. Why did my bread turn out dense?
Possible reasons include not kneading enough or not proofing properly.
Condensed Milk Bread Recipe
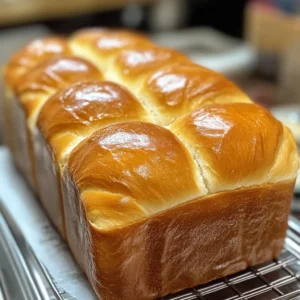
Condensed Milk Bread
Equipment
- Mixing Bowls
- Measuring Cups and Spoons
- Dough scraper
- Stand mixer (optional)
- Rolling Pin
- Loaf pan (or baking sheet)
- Plastic wrap or a damp towel
- Pastry brush
Ingredients
For the Dough:
- 3 cups 375g bread flour or all-purpose flour
- 2 ¼ teaspoons 1 packet active dry yeast
- ½ cup 120ml warm milk (about 110°F/43°C)
- ¼ cup 80g sweetened condensed milk
- 2 tablespoons 30g unsalted butter, melted
- 1 large egg
- 1 teaspoon salt
For the Egg Wash:
- 1 egg yolk
- 1 tablespoon milk
Instructions
Step 1: Activate the Yeast
- In a small bowl, combine warm milk and yeast. Let it sit for 5-10 minutes until foamy.
Step 2: Prepare the Dough
- In a large mixing bowl, whisk together the flour and salt.
- Add the condensed milk, melted butter, egg, and the activated yeast mixture.
- Mix until a shaggy dough forms.
Step 3: Knead the Dough
- Transfer the dough to a lightly floured surface and knead for 8-10 minutes until smooth and elastic. (Alternatively, use a stand mixer with a dough hook on medium speed for 6-8 minutes.)
Step 4: First Rise (Proofing)
- Place the dough in a greased bowl, cover with plastic wrap or a towel, and let it rise in a warm, draft-free place for 1-2 hours, or until doubled in size.
Step 5: Shape the Dough
- Punch down the dough to release air, then divide it into equal portions. Shape it into a loaf or individual rolls.
Step 6: Second Rise
- Place the shaped dough into a greased loaf pan, cover, and let it rise again for 30-45 minutes.
Step 7: Bake the Bread
- Preheat your oven to 350°F (175°C).
- Brush the top of the dough with the egg wash.
- Bake for 25-30 minutes, or until golden brown and cooked through.
Step 8: Cool and Serve
- Let the bread cool in the pan for 10 minutes, then transfer to a wire rack to cool completely.
- Slice and enjoy with butter, jam, or honey!
Notes
Storage Tips
- Store in an airtight container at room temperature for up to 3 days.
- Refrigerate for up to a week.
- Freeze for up to 3 months—just wrap it tightly in plastic wrap and store in a freezer bag.


