why make this recipe
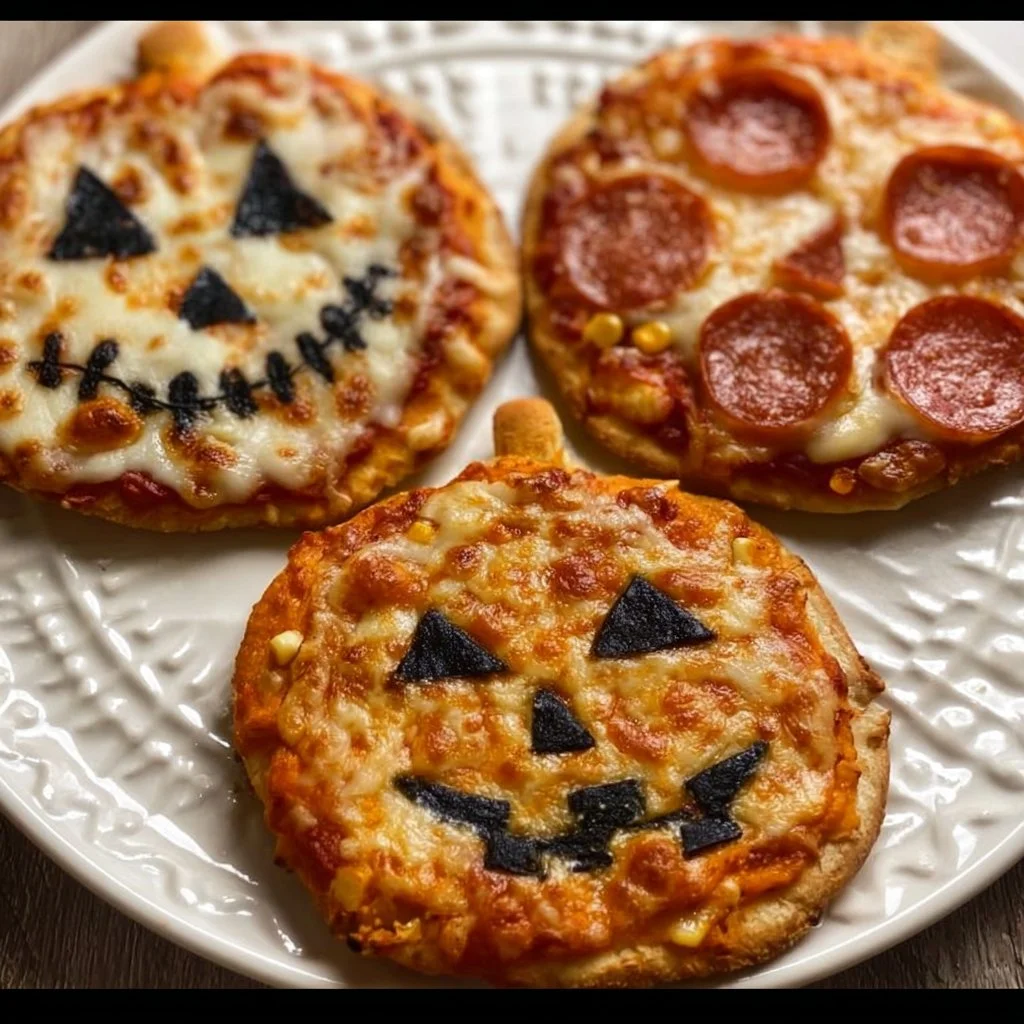
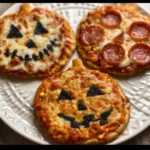
Halloween Mini Pizzas are a fun and easy way to celebrate the spooky season! They allow you to get creative with your toppings and designs, making cooking a delightful activity for kids and families. These mini pizzas are not only tasty but also bring a festive spirit to any Halloween gathering. With simple ingredients and quick preparation, they are perfect for a Halloween party or a fun family dinner.
how to make Halloween Mini Pizzas
Ingredients:
- 8 mini pizza crusts (store-bought or homemade)
- 1 cup pizza sauce
- 2 cups shredded mozzarella cheese
- 8 slices mozzarella cheese (for ghost shapes)
- 12 slices pepperoni
- 1 small black olive (sliced for eyes)
- 1 orange bell pepper (cut into pumpkin shapes)
Directions:
- Preheat oven to 400°F (200°C). Line a baking sheet with parchment paper.
- Place mini pizza crusts on the prepared baking sheet. Spread pizza sauce evenly over each crust.
- For ghost pizzas: cut ghost shapes from mozzarella slices and place them on top of the sauce. Add olive pieces for eyes.
- For mummy pizzas: layer strips of mozzarella cheese over the sauce in a criss-cross pattern. Add olive slices for eyes.
- For jack-o’-lantern pizzas: top with shredded cheese and arrange bell pepper slices into pumpkin faces.
- Bake for 8-10 minutes or until cheese is melted and crust is golden.
- Serve warm and enjoy your spooky Halloween treat!
how to serve Halloween Mini Pizzas
These mini pizzas can be served on a fun Halloween-themed platter. You can pair them with a side of extra pizza sauce for dipping. They make great finger foods and are perfect for guests to grab and enjoy at a Halloween party.
how to store Halloween Mini Pizzas
To store leftover mini pizzas, place them in an airtight container in the refrigerator. They will stay fresh for up to 3 days. To reheat, simply pop them in the oven at 350°F (175°C) for about 5-7 minutes until warm.
tips to make Halloween Mini Pizzas
- Get creative with toppings! Use different vegetables or meats to make various Halloween shapes.
- Allow kids to design their own mini pizzas. It can be a fun activity and everyone loves customized food!
- Adjust the baking time according to your oven; keep an eye on them to avoid overcooking.
variation
You can add other toppings like mushrooms, bell peppers, or even pineapple to create unique flavors. For a healthier option, consider using whole wheat crust or adding more vegetables on top.
FAQs
1. Can I use regular pizza crust instead of mini crusts?
Yes! You can use a regular pizza crust and cut it into smaller pieces or make a larger pizza.
2. How can I make the pizzas spicier?
Add sliced jalapeños or a sprinkle of red pepper flakes to the sauce or on top before baking.
3. Are there any vegan options for this recipe?
Absolutely! You can use vegan cheese and substitute any meat toppings with veggies like mushrooms or bell peppers.
Enjoy your Halloween Mini Pizzas and have a spooktacular celebration!
Try Also: Irresistible Dessert Ideas from Paula’s Kitchen
- How to Make the Perfect Tuxedo Cake at Home
- No-Bake Layered Brownie Dessert
- Pumpkin Cinnamon Roll Bars
Halloween Mini Pizzas
Ingredients
Pizza Crusts
- 8 pieces mini pizza crusts (store-bought or homemade)
Pizza Sauce
- 1 cup pizza sauce
Cheese
- 2 cups shredded mozzarella cheese
- 8 slices mozzarella cheese (for ghost shapes)
Toppings
- 12 slices pepperoni
- 1 small black olive (sliced for eyes)
- 1 piece orange bell pepper (cut into pumpkin shapes)
Instructions
Preparation
- Preheat oven to 400°F (200°C). Line a baking sheet with parchment paper.
- Place mini pizza crusts on the prepared baking sheet. Spread pizza sauce evenly over each crust.
Topping
- For ghost pizzas: cut ghost shapes from mozzarella slices and place them on top of the sauce. Add olive pieces for eyes.
- For mummy pizzas: layer strips of mozzarella cheese over the sauce in a criss-cross pattern. Add olive slices for eyes.
- For jack-o'-lantern pizzas: top with shredded cheese and arrange bell pepper slices into pumpkin faces.
Baking
- Bake for 8-10 minutes or until cheese is melted and crust is golden.
- Serve warm and enjoy your spooky Halloween treat!


